
In today’s fast-paced world, do-it-yourself (DIY) projects have become increasingly popular. Not only do they save you money, but they also give you a sense of accomplishment. One such project that many homeowners encounter is installing a gas valve. Whether you’re looking to upgrade your gas appliances or replace an old valve, this comprehensive guide will walk you through the process step by step. By the end of this article, you’ll be equipped with the knowledge and confidence to tackle this task like a pro.
Why Install or Replace a Gas Valve?
Before we dive into the nitty-gritty details of gas valve installation, it’s crucial to understand why you might need to undertake this project. A gas valve controls your appliances’ gas flow, ensuring they operate safely and efficiently. Here are a few common reasons for installing or replacing a gas valve:
Upgrading Appliances
Upgrading your old gas appliances to newer, more energy-efficient models reduces your energy bills and contributes to a greener environment. Additionally, modern appliances often come with advanced features that enhance your overall home experience. It’s important to note that newer appliances often come with specific gas valve requirements. Therefore, upgrading your gas valve is a crucial step to ensure a seamless transition to these advanced appliances.
Safety Concerns
Neglecting an old or malfunctioning gas valve can lead to severe safety hazards, including the potential for gas leaks that may result in fires or explosions. The consequences of ignoring these safety concerns can be devastating. Prioritizing the replacement of a faulty gas valve is paramount for safeguarding the well-being and security of your household. Regular maintenance and prompt replacement of worn-out valves can prevent dangerous situations, providing peace of mind for you and your family.
Home Renovations
When embarking on home renovations or remodeling projects, the need to relocate gas lines or install new valves can arise as you adapt your living space to your evolving needs and preferences. Ensuring the proper installation and adjustment of gas valves during these renovations is essential to maintain the safety and functionality of your gas appliances in the updated layout. Whether you’re redesigning your kitchen, revamping your living room, or transforming your entire home, understanding how gas valves fit into your renovation plans is crucial for a successful home improvement project.
Now that you understand why gas valve installation is important, let’s move on to the practical steps you should follow.
Tools and Materials You’ll Need
Before you start the installation process, gather the necessary tools and materials to ensure a smooth workflow. Here’s a list of what you’ll need:
Tools:
- Adjustable wrench
- Pipe cutter
- Pipe threader
- Pipe wrench
- Pipe dope (thread sealant)
- Gas leak detector solution
- Teflon tape
Materials:
- New gas valve (compatible with your gas supply)
- Black iron or flexible gas line
- A shut-off valve (if not already installed)
- Safety goggles
- Work gloves
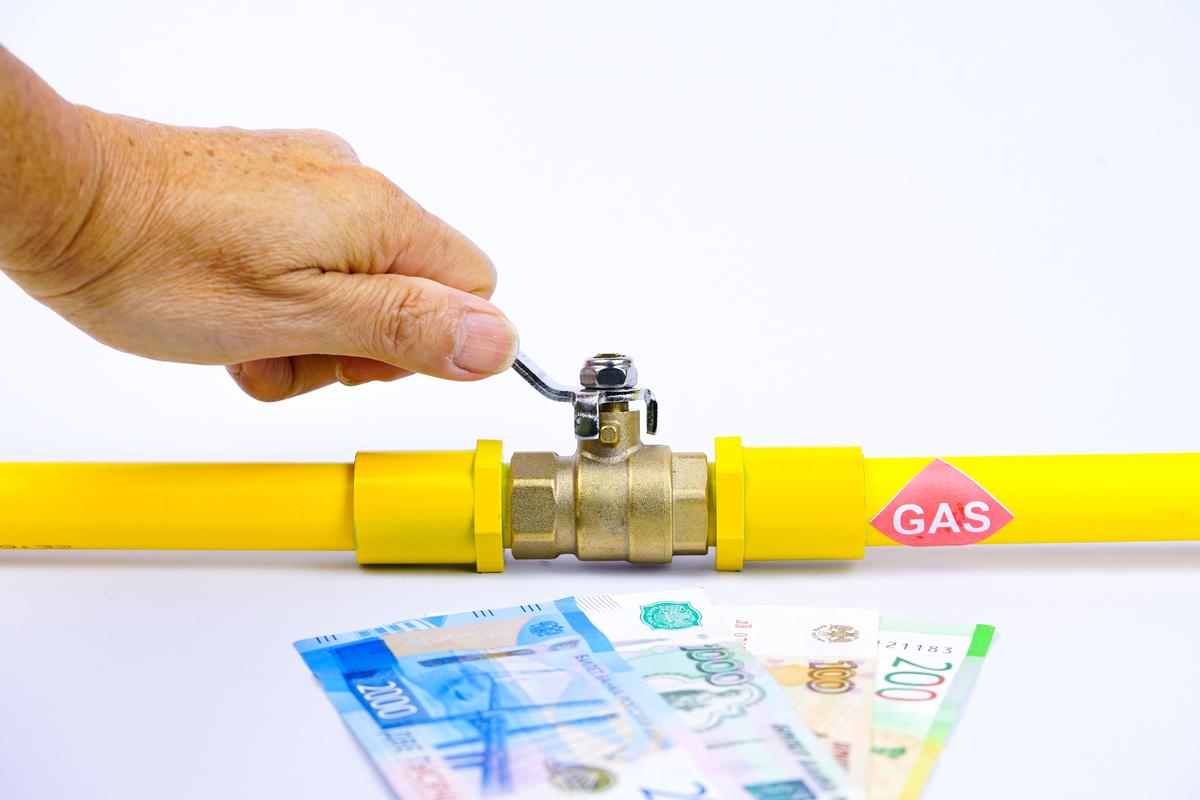
Step-by-Step Gas Valve Installation Guide
Step 1: Safety First
Safety should always be your top priority when working with gas. Make sure to:
- Turn off the gas supply at the main shut-off valve.
- Ventilate the area by opening windows and doors.
- Avoid using open flames or creating sparks near the work area.
Step 2: Remove the Old Gas Valve
Using an adjustable wrench and pipe wrench, carefully disconnect the old gas valve from the gas supply line and the appliance. Be cautious not to damage the existing gas lines during this process.
Step 3: Prepare the Gas Supply Line
If you don’t already have a shut-off valve in place, install one now. This valve will allow you to control the gas flow to the appliance easily.
Step 4: Install the New Gas Valve
Wrap Teflon tape around the threads of the gas valve to create a tight seal. Then, use a pipe wrench to securely attach the new valve to the gas supply line. Ensure it is properly aligned with the appliance.
Step 5: Check for Leaks
After connecting the gas valve, apply a gas leak detector solution to all connections and joints. If bubbles appear, it indicates a gas leak. In this case, turn off the gas supply immediately, recheck the connections, and tighten as needed.
Step 6: Test the Appliance
Turn on the gas supply and test the appliance to ensure it operates correctly. Look for any unusual smells or sounds that may indicate a problem.
Step 7: Final Checks
Double-check all connections and fittings to ensure they are secure. If everything looks good, close the access panel or cover and clean up your workspace.
Conclusion
Installing or replacing a gas valve doesn’t have to be a daunting task. With the right tools, materials, and precautions, you can complete this DIY project safely and efficiently. Remember, if you ever feel unsure or uncomfortable, it’s always a good idea to consult a professional. By following this step-by-step guide, you’re well on your way to enhancing the safety and functionality of your gas appliances, all while boosting your DIY skills. So, go ahead and tackle that gas valve installation like a pro!